Following are the main features that attracted me towards Netbeans/C++ ide.
1. Very good navigation features.
2. Easy to get started
3. No-nonsense user interface with it's intuitive features
4. Feature rich editor(Still nowhere to compare with vi. But generally very good compared to similar ide's)
5. Obtain variable, method list for instances including inherited variable/methods
One of the main caveat I see so far is I could not still find a way to select a file and compile only that file. But considering the many other useful features that come with Netbeans 6.5 C++ ide I could easily ignore it. Besides I still prefer to build and debug using my favourite command line tools vi, gdb and valgrind.
First you need to install Netbeans/C++. If you are on Ubuntu then just do
apt-get install netbeans
Then after starting the ide go to main menu's tools->plugins dialog box and select Available Plugins tab. From there select C/C++ plugin and install it.
Now when you create a new project a C/C++ project option appear.
There are many options that you can use to create a new project. What I did was to create a Netbeans project from existing source. I created the project with an existing Makefile. That means prior to create the project I have already created the makefiles for WSF/C++ project using it's build scripts. I gave source path as the root of my WSF/C++ source tree.
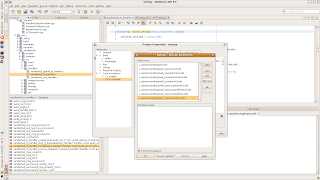
Once I created the project I could build the WSF/C++ with no trouble. It should be noted that you need to give all your include paths for header files while creating the project or afterwords using the dialog box in file->Project properties.

You may need to select following include folders
wsf/cpp/include
wsf/cpp/wsf_c/axis2c/include
wsf/cpp/wsf_c/axis2c/neethi/include
wsf/cpp/wsf_c/axis2c/axiom/include
wsf/cpp/wsf_c/axis2c/guththila/include
wsf/cpp/wsf_c/axis2c/util/include
wsf/cpp/wsf_c/rampart/include
wsf/cpp/wsf_c/sandesha2c/include
wsf/cpp/wsf_c/savanc/include
Now if you need to create your own project which use WSF/C++, create your project as the main project. Then from the project properties dialog box select the Required Projects menu and add WSF/C++ project we created at the beginning.


